Uncategorized

cleaning painted furniture
Uncategorized

Cleaning Painted Furniture | Best Tips for a Spotless Finish

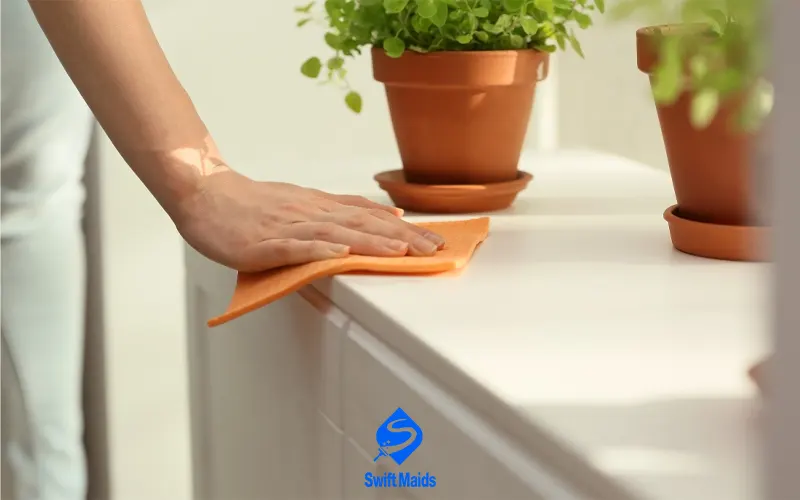
Ah, painted furniture. It brings a touch of personality and charm to any room, adding a pop of color or a touch of elegance. But let’s be honest, painted furniture can also be a magnet for dust, fingerprints, and the occasional mystery smudge. We’ve all been there. You glance at your favorite painted dresser and realize it looks a little, well, worse for wear. Maybe there’s a layer of grime you hadn’t noticed before, or a sticky fingerprint from who-knows-when. But fear not, cleaning painted furniture isn’t rocket science, and with a little know-how, you can keep your painted pieces looking their best. So, grab a cup of coffee and let’s delve into the world of cleaning painted furniture. Read Also: Upholstery Cleaning Tips for Spotless Furniture | Ultimate Guide Before You Dive In: Understanding Your Painted Furniture   The first step to effectively cleaning your painted furniture is understanding exactly what kind of paint you’re dealing with. Knowing the paint type will help you choose the right cleaning products and techniques to avoid damaging the finish. Here’s a quick rundown of some common paint types used on furniture: Latex Paint: This water-based paint is popular for its ease of use and cleanup. It’s generally considered a good choice for furniture painting projects for beginners. Acrylic Paint: Another water-based option, acrylic paint is known for its durability and vibrant colors. Oil-Based Paint: Traditional oil-based paints offer a high-gloss finish and excellent durability, but they can be more prone to yellowing over time and require stronger solvents for cleaning. Milk Paint: This all-natural paint option is gaining popularity for its eco-friendly properties and beautiful matte finish. However, it requires special care and is generally not recommended for high-traffic areas. If you’re unsure about the type of paint on your furniture, don’t fret! There are a few ways to try and identify it: Check for manufacturer’s labels: Some furniture may have a label with information about the paint finish. Do a little scratch test: In an inconspicuous area, apply a small amount of rubbing alcohol to a cotton swab and dab it gently on the painted surface. If the paint softens or dissolves slightly, it’s likely oil-based. Latex or acrylic paints typically won’t react to rubbing alcohol. Once you’ve identified the paint type, you’re ready to gather your cleaning supplies! The Cleaning Arsenal: Must-Have Supplies for Cleaning Painted Furniture Now that you know your painted furniture’s secret identity (paint type, that is), it’s time to assemble your cleaning arsenal. Here are the essential tools you’ll need for most cleaning painted furniture tasks: Microfiber cloths: These gentle cloths are fantastic for dusting and polishing painted furniture without scratching the surface. Distilled white vinegar: A natural cleaning powerhouse, white vinegar is a great option for cleaning everyday grime and grease off most painted furniture. Dish soap: A mild dish soap diluted in water is another gentle cleaning solution for painted surfaces. Bowls or spray bottles: You’ll need containers for your cleaning solutions. Spray bottles can be handy for applying diluted cleaning solutions. Soft-bristled brush (optional): A soft-bristled brush can be helpful for tackling tougher grime in crevices or details. Bonus Tip: For oil-based paint, you may also want to have some mineral spirits on hand for tougher cleaning jobs. Important safety note: Mineral spirits are a solvent and can have strong fumes. Always ensure proper ventilation when using mineral spirits and avoid contact with skin and eyes. Now that you’ve gathered your supplies and identified the type of paint on your furniture, it’s time to dive into the actual cleaning process. Gentle Everyday Cleaning   For routine cleaning, a simple dusting is often all that’s needed. Use a microfiber cloth to gently dust the surface of your painted furniture regularly. Microfiber cloths are excellent at trapping dust and preventing scratches. Dusting regularly prevents dust from accumulating and becoming more difficult to remove. Pay close attention to corners, crevices, and any intricate details on the furniture. Tackling Tougher Grime For more stubborn grime, such as fingerprints, grease, or minor spills, a mild cleaning solution is usually sufficient. For latex or acrylic paints For latex or acrylic paints, a simple solution of mild dish soap and warm water is often effective. Mix a few drops of mild dish soap with warm water in a bowl. Use a high-quality dish soap that is free from harsh chemicals. Dip a clean microfiber cloth into the solution and wring it out thoroughly to remove excess moisture. Gently wipe down the painted surface with the damp cloth, using circular motions. Rinse the cloth frequently in clean water to prevent soap residue from building up. Dry the surface immediately with a clean, dry microfiber cloth to prevent water spots. For oil-based paints For oil-based paints, a solution of equal parts warm water and white vinegar is generally effective. Mix equal parts warm water and white vinegar in a spray bottle. Lightly mist the painted surface with the solution. Wipe down the surface gently with a clean, soft cloth. Avoid over-saturating the surface with the cleaning solution. Dry the surface immediately with a clean, dry microfiber cloth. Protecting Your Painted Furniture   Use coasters Always use coasters under drinks to prevent water rings and other stains from forming on the surface of your painted furniture. Water rings can be difficult to remove and can permanently damage the paint finish. Use coasters under all beverages, including water, coffee, tea, and alcoholic drinks. Choose coasters made from absorbent materials such as cork, felt, or ceramic. Encourage guests to use coasters as well. Place furniture away from direct sunlight Prolonged exposure to direct sunlight can cause the paint to fade and deteriorate over time. Position your painted furniture away from windows that receive direct sunlight for extended periods. Consider using sheer curtains or blinds to diffuse sunlight and protect your furniture from UV rays. Regularly rotate your furniture to ensure even exposure to sunlight and prevent fading. Avoid placing hot items directly on the
Winter Carpet Cleaning Tips
Uncategorized

Essential Winter Carpet Cleaning Tips

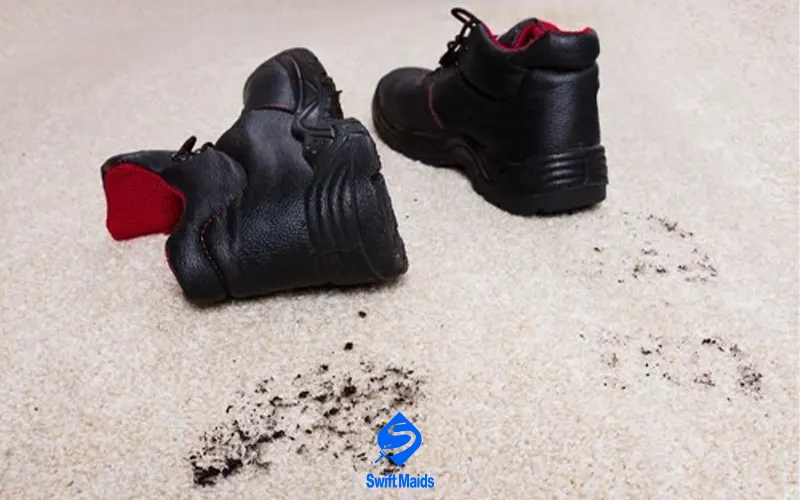
Ugh, winter. It’s a time for cozy nights by the fireplace, hot cocoa mugs warming your hands, and…snow tracked in on your shoes? Before you know it, your once pristine carpets become a battleground against salt stains, mud, and that general “winter grime” that seems to cling to everything. Fear not, this guide is here to equip you with the knowledge and tips for conquering winter’s assault on your precious floor coverings. Here’s why winter carpet cleaning tips becomes even more crucial during the colder months: Moisture Magnet: Snow and slush melt into water, which gets tracked in on shoes and boots. This moisture can soak into your carpets, creating a breeding ground for mold and mildew, especially if not addressed promptly. Salt Stains: The rock salt used to de-ice sidewalks and roads can hitch a ride on your shoes and onto your carpets. Salt attracts moisture and can cause unsightly white stains and even damage carpet fibers over time. Dirt and Debris: Winter boots and shoes pick up all sorts of nasty stuff – dirt, sand, and other debris. This gets tracked into your home and can grind into your carpets, causing wear and tear. Reduced Ventilation: During winter, we tend to keep windows closed to retain heat. This can trap allergens and dust mites in your carpets, which can exacerbate allergies and asthma. The Benefits of Regular Winter Carpet Cleaning   Now, you might be thinking, “Isn’t vacuuming enough?” It’s a great question! Vacuuming is definitely a crucial first line of defense, but winter carpet cleaning offers a deeper level of clean that tackles the issues regular vacuuming can’t reach. Here’s what you can expect: Moisture Removal Winter weather can introduce moisture into your home through wet shoes, snow, and slush. This excess moisture can seep into your carpet fibers, creating a breeding ground for mold and mildew. Professional carpet cleaning uses advanced techniques to extract moisture from your carpets, preventing the growth of harmful microorganisms and maintaining a healthy indoor environment. Salt Stain Removal Salt stains are a common problem during winter months, as salt is used to de-ice sidewalks and driveways. When tracked inside, salt can damage your carpet fibers and leave unsightly stains. Professional carpet cleaners have the expertise and specialized cleaning solutions to effectively remove salt stains without damaging your carpets. Deep Dirt and Debris Removal Regular vacuuming can remove surface dirt and debris, but it may not be enough to reach the deeper layers of your carpet fibers. Professional carpet cleaning uses powerful equipment to extract dirt, dust, and allergens that have become embedded in your carpets. This can help to improve the air quality in your home and reduce allergy symptoms. Allergen and Dust Mite Reduction Carpets can harbor allergens like pollen, pet dander, and dust mites. These allergens can trigger allergies and respiratory problems, especially for individuals with sensitivities. Professional carpet cleaning uses specialized cleaning solutions and techniques to eliminate allergens and dust mites, creating a healthier indoor environment for you and your family. DIY vs. Professional Cleaning: Weighing Your Options Alright, so you’re convinced that winter carpet cleaning is a must. Now comes the question – DIY or call in the professionals? Both approaches have their pros and cons: DIY Cleaning Pros: It’s more economical in the short term. You can clean at your convenience. Cons: Requires time and effort. May not be as effective as professional cleaning, especially for deep-seated dirt or stains. Renting or purchasing cleaning equipment can add to the cost. Professional Cleaning Pros: Thorough and effective cleaning, removing deep-seated dirt, stains, and allergens. Saves you time and energy. Professional cleaners have the expertise and equipment to handle tough cleaning challenges. Cons: Can be more expensive than DIY cleaning. May require scheduling the service in advance. Read More: Professional carpet cleaning vs DIY | The best choice DIY Winter Carpet Cleaning Tips   If you’re a DIY enthusiast and want to tackle this yourself, here are some winter carpet cleaning tips to help you achieve the best results: 1.    Regular Vacuuming Regular vacuuming is crucial for maintaining clean carpets throughout the winter months. Make sure to vacuum at least twice a week, paying special attention to high-traffic areas like entryways, hallways, and living rooms. Use a vacuum cleaner with a strong suction power and a high-quality filter to effectively remove dirt, debris, and pet hair. Don’t forget to vacuum under furniture and along baseboards. 2.    Spot Cleaning Spills and Stains Quick action is key when dealing with spills and stains. Blot up excess liquid with a clean, absorbent cloth. Avoid rubbing the stain, as this can spread it further. For tougher stains, use a carpet cleaning solution or a mixture of white vinegar and water. Test the cleaning solution on a small, inconspicuous area of the carpet first to ensure it doesn’t cause discoloration. 3.    Steam Cleaning Renting a steam cleaner can be an effective way to deep clean your carpets. The hot water and steam loosen dirt, grime, and allergens, which are then extracted by the machine’s powerful suction. When using a steam cleaner, follow the manufacturer’s instructions carefully and avoid over-saturating the carpet. 4.    Baking Soda for Odor Control Baking soda is a natural deodorizer that can help eliminate odors from your carpets. Sprinkle baking soda over your carpets, let it sit for a few hours, and then vacuum it up. This can help to neutralize odors caused by pets, spills, or mildew. Read More: Clean Carpet with Baking Soda Professional Cleaning for Deep Cleaning While DIY cleaning can be effective for routine maintenance, professional carpet cleaning is recommended for a deeper, more thorough clean. Professional cleaners have the expertise and equipment to remove deep-seated dirt, grime, and allergens that may be difficult to remove with DIY methods. They can also help to restore the appearance and lifespan of your carpets. Professional carpet cleaning offers several advantages over DIY methods: Deep Cleaning Professional carpet cleaning services use advanced equipment and techniques to extract dirt,

Scroll to Top