Admit it, cleaning windows can feel like a chore. You spend all that time scrubbing and squeegeeing, only to be left with streaks and smudges that make you question your cleaning skills. Not to worry! With the right Essential Tools and window cleaning tools and equipment, and a little know-how, you can transform your glass panes from grimy to gleaming.
This guide will equip you with the essential tools for a successful DIY window cleaning adventure, so you can enjoy the satisfaction of sparkling windows without breaking the bank. Whether you live in a cozy condo or a sprawling house in Calgary, these tips will help you achieve crystal-clear results.
Understanding the Enemy: What Makes Windows Dirty?
Dust and Dirt

Airborne dust, pollen, and other particles can settle on windows, obscuring their clarity and creating a dull appearance. Regular cleaning is essential to remove these contaminants and maintain clear windows.
Fingerprints and Smudges
Our hands are constantly touching surfaces, leaving behind oily residues that can smudge windows. This is especially noticeable on frequently used windows, such as those in kitchens or near entryways.
Water Spots
Hard water minerals can leave behind unsightly spots on windows, particularly after cleaning or rain. These spots can be difficult to remove and can reduce the overall appearance of your windows.
Knowing your enemy is half the battle! Now, let’s explore the essential window cleaning tools and equipment to tackle them effectively.
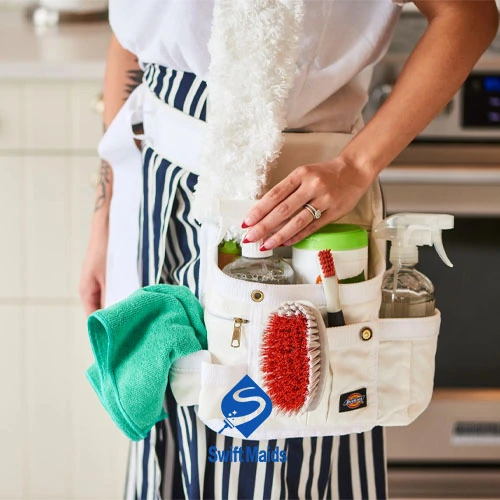
The DIY Window Cleaning Arsenal: Must-Have Tools Microfiber Cloths

Microfiber cloths are indispensable for window cleaning. Their unique properties make them ideal for effectively removing dirt, grime, and streaks without scratching the glass.
- Absorbency: Microfiber cloths are highly absorbent, quickly soaking up excess cleaning solution and water.
- Non-Abrasive: The soft texture of microfiber fibers prevents scratches on the glass, ensuring a streak-free finish.
- Durability: Microfiber cloths are durable and can be reused multiple times after washing.
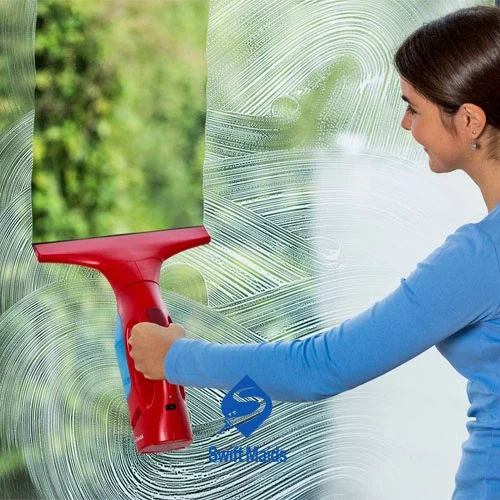
Squeegee
A squeegee is essential for removing excess cleaning solution and achieving a streak-free finish.
- Rubber Blade: The rubber blade should be flexible and conform to the shape of your window for optimal cleaning.
- Handle: Choose a squeegee with a comfortable handle for easy maneuvering.
Bucket
A bucket is necessary for holding your cleaning solution. A small bucket is usually sufficient for most window cleaning calgary tasks.
Spray Bottle (Optional)
While not strictly necessary, a spray bottle can be convenient for applying your cleaning solution directly to the window, especially for larger windows or stubborn stains.
These basic window cleaning tools and equipment are readily available and won’t break the bank. With proper care and use, they can help you achieve sparkling windows for years to come.
Pro Tip: Invest in two separate microfiber cloths – one for cleaning and one for buffing. This helps prevent cross-contamination and ensures a truly streak-free finish.
DIY Window Cleaning Solution: Homemade or Store-Bought?
There are two main options when it comes to cleaning solutions:
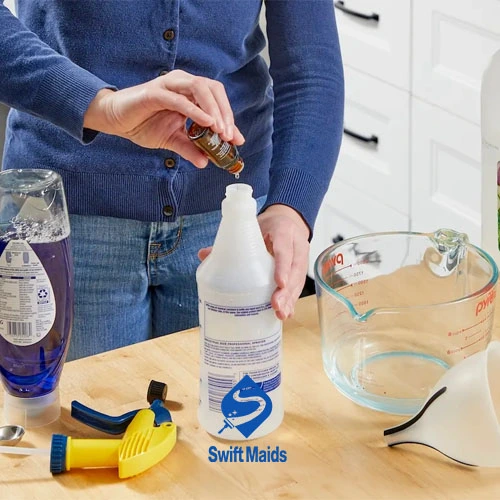
- Homemade: A simple solution of distilled water and white vinegar can be a budget-friendly and effective cleaning agent. Mix equal parts water and vinegar in your spray bottle (if using) or bucket.
- Store-Bought: Many commercial window cleaning solutions are readily available. These can be convenient and often come with streak-free guarantees.
The Art of the Clean: Step-by-Step Guide Prep the Area
Before you start cleaning, prepare the area around the window by mastering the art of window cleaning techniques to avoid messy cleaning.
- Remove Obstacles: Move any blinds, curtains, or furniture away from the window to provide unobstructed access.
- Protect the Surroundings: Lay down newspapers or towels under the window to catch any drips or spills.
Dust It Off
Start by using a dry microfiber cloth to remove loose dust and cobwebs from the window frame and glass. This will prevent the dust from mixing with the cleaning solution and creating streaks.
Apply Cleaning Solution
Choose your preferred cleaning solution (homemade or store-bought) and apply it to the window. If using a spray bottle, apply the solution evenly to the glass. If using a damp cloth, apply the cleaning solution directly to the cloth.
Scrub-a-Dub-Dub
Gently scrub the entire window surface in a circular motion using your damp microfiber cloth. Pay special attention to areas with stubborn dirt, grime, or stains.
Squeegee Away
Starting at the top of the window, use your squeegee to remove excess cleaning solution. Work your way down the window, ensuring you overlap your strokes to prevent streaks. Wipe the squeegee blade with a dry microfiber cloth after each stroke to keep it clean.
- Maintain Pressure: Apply consistent pressure to the squeegee blade to ensure effective water removal.
- Overlap Strokes: Overlapping your squeegee strokes helps prevent streaks and ensures a smooth finish.
Buff and Shine
Once you’ve removed the excess cleaning solution with the squeegee, use a dry microfiber cloth to buff the window dry. This will remove any remaining streaks and restore the window’s shine.
- Pay Attention to Corners: Don’t forget to buff the edges and corners of the window to ensure a complete and even finish.
Remember: Work in sections to prevent the cleaning solution from drying on the window, which can cause streaks.
By following these steps and using the right window cleaning tools and equipment, you can achieve professional-looking results at home
Beyond the Basics: Tackling Tough Window Cleaning Challenges
Sometimes, windows throw curveballs. Here’s how to handle some common challenges:

- High Windows: For hard-to-reach windows, consider using an extension pole with a microfiber cleaning head or squeegee attachment.
- Window Screens: Window screens can accumulate dust and grime too. Remove them and wash them with soapy water or use a vacuum cleaner with a brush attachment.
- Stubborn Stains: For stubborn stains, like bird droppings or tree sap, try using a mixture of white vinegar and baking soda. Gently apply the mixture to the stain and let it sit for a few minutes before scrubbing with a soft-bristled brush.
When DIY Just Won’t Cut It: Hiring a Professional Window Cleaning Service
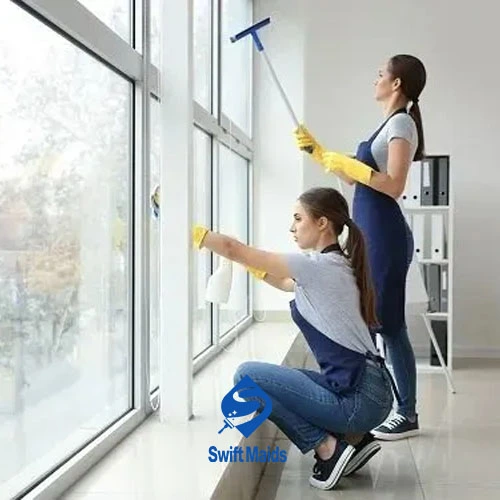
While DIY window cleaning can be a rewarding experience, there are times when professional help is necessary. If you have large windows, multiple stories, or simply prefer to leave the cleaning to the experts, a professional window cleaning service can be a great option.
SwiftMaids offers professional window cleaning services to keep your home sparkling and can handle all your window cleaning needs, ensuring crystal-clear results and a hassle-free experience.
Conclusion
With the right window cleaning tools and equipment, and a little elbow grease, you can transform your dirty windows into sparkling masterpieces. Remember, regular window cleaning not only improves your home’s appearance but also helps maintain the value of your property.
So, roll up your sleeves, grab your cleaning supplies, and get ready to enjoy the satisfaction of a job well done!