Between the tiles that define most kitchens, bathrooms, and accent walls, lies the humble yet vital grout. This porous material joins tile sections together while allowing slight flexibility in the total surface area. But after years of use, typically gray or white grout inevitably absorbs dirt, grime, and stains. Discolored grout lines can detract from the beauty of the surrounding tiles. While a full regrouting job may come to mind for refreshing the look, grout staining provides a much easier, more affordable makeover option. When done properly, staining can recolor dull grout with dramatic results. This blog post of Swift Maids will walk through the grout staining process, how to stain grout, explaining the benefits of regrouting, choosing colors, preparing grout, application techniques, and sealing to protect the renewed aesthetic. With some simple steps, homeowners can achieve stunning grout makeovers.
Why Choose Staining Over Regrouting?
Staining dirty or damaged grout back to life provides clear advantages over the intensive process of removing and replacing all grout across a fully tiled area:
Less Time and Skill Required
Staining goes significantly faster, allowing DIY completion in the afternoon. No specialized tiling expertise is needed either. Staining simply involves applying colored pigment to existing grout lines. Digging out all old grout before reapplying new grout requires greater time and skill.
Minimizes Disruption to Household
The staining process is far less messy, noisy, and disruptive than the multi-day, dust-filled demolition work of regrouting an entire room. Grout staining fits conveniently into a weekend without destroying a kitchen or bath for days.
Lasting and Cost-Effective Color Change
High-performance grout stains penetrate within existing grout for years of renewed color versus new grout eventually getting dirty again down the road. Staining provides affordable, long-lasting color improvement.
Great for Isolated Grout Damage
If only portions of grout are aesthetically damaged but still structurally sound, concentrated staining just affected areas makes sense rather than regrouting everything. Staining tackles discoloration selectively.
A Wide Range of Colors Available
Grout stains come in a spectrum of hues from light to dark unlike plain new grout. This allows matching tile colors or going bold with contrasting colors. New grout is limited to gray and white.
For situations where tired grout primarily needs aesthetic refreshment, staining offers far less hassle than full regrouting while transforming the look.
Choosing a Stain Color to Complement Tiles
Grout stains are available in a multitude of colors, so for how to stain grout, sampling products first in subtle sections is wise. Considerations when selecting the ideal stain shade include:
- Matching Tile Color for Subtle Uniformity Selecting a stain matching or closely coordinating with the tile color provides a subtle, uniform appearance. Light gray tiles could use a soft gray stain.
- Contrasting Tile Color for Definition Going slightly darker or lighter than the tile creates obvious definition between tile and grout. This adds visual interest.
- Dramatic Color Changes for Impact Choosing a bold, different color family like black or terra cotta grout stain on white tiles makes the grout pop dramatically.
- Weathered, Variegated Finishes Specialty stains like antique or mottled colors provide an aged, non-uniform finish full of character.
Don’t commit fully until comparing swatches of different stain options side-by-side. Test different shades to select the perfect complementary or contrasting grout color.
Prep Work for Flawless Staining
Preparing grout appropriately before applying colorant ensures ideal stain penetration and vibrancy:
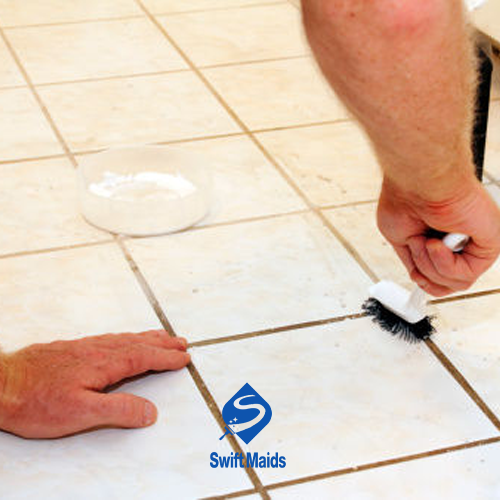
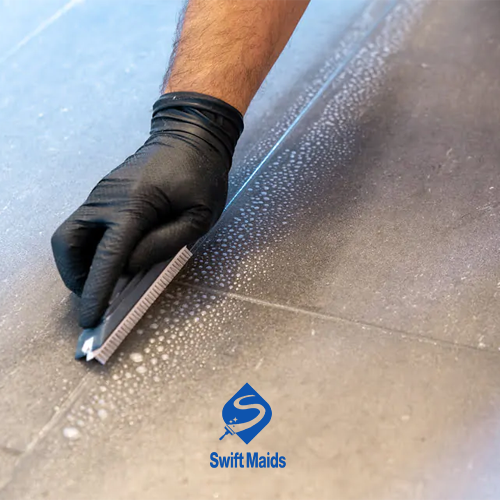
Cleaning Out Dirt and Contaminants
Use a specially formulated grout cleaner to scrub away any dirt, sealers, soap residue, or waxes clogging grout pores, which can prevent stain adhesion and absorption. Apply cleaner with a stiff grout brush.
Rinsing Thoroughly
Completely rinse stained areas with clean water 2-3 times to flush out all remaining grout cleaner residue or other contaminants. This prevents hazy color results.
Ensuring Grout is Fully Dry
Allow grout lines to dry overnight before staining. Lingering moisture keeps stains from properly bonding and curing within grout.
Protecting Surrounding Tile
Carefully apply painter’s tape around nearby tiles to shield from potential staining splatter or spills. Cover any adjacent furniture or flooring as well.
When grout is cleaned, dried, and protected, it is ready to absorb the intense new stain color.
Staining Step-by-Step for How to Stain Grout
When ready to begin revitalizing worn-out grout, adhere to these best practices:
Shake or Stir Stain First
Before starting, vigorously shake or stir grout stain containers to fully mix pigment particles evenly distributed throughout the liquid.
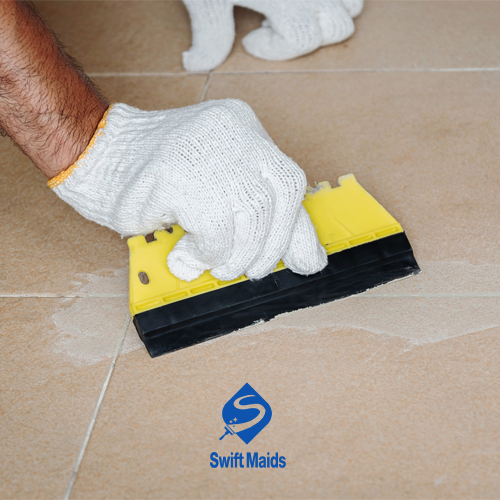
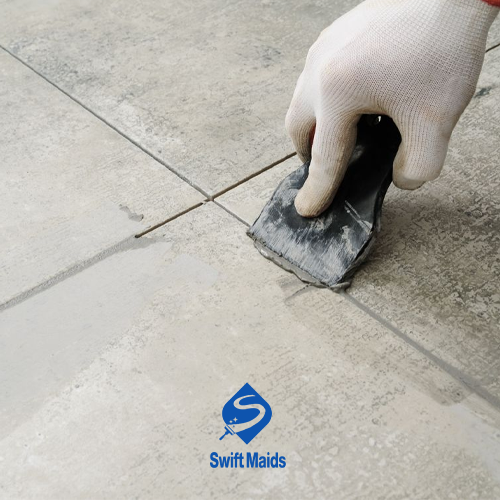
Apply Stain Systematically
Use a small sponge, foam brush, or lint-free rag to wipe stains into grout crevices using steady circular motions. Maintain consistency across the entire surface.
Allow Time to Penetrate
Give the first application 10-15 minutes to penetrate fully before wiping any lingering excess stain off tile surfaces to prevent haze.
Building Rich Color
For more pronounced color or to deeply treat more damaged areas, do a second round of stain application following the same careful technique as the first.
Avoid Over-Application
Continuously wipe up any stain overflowing from aged grout lines onto tile surfaces to prevent staining surrounding areas. Precision prevents messy tile cleanup later.
With care and patience, applying grout stain can dramatically refresh and recolor damaged or discolored existing grout.
Protecting Stain Finish with Durable Sealer
As a vital final step for how to stain grout, sealers lock in and protect grout stain colors from fading or washing out over time:
- Allowing Cure Time First: Let stains cure fully for 24-48 hours before applying any sealer. Sealers can disrupt proper bonding and curing if applied atop uncured stains.
- Choosing a Compatible Sealer: Select a grout sealer rated for use with grout stains without discoloring or chemically interacting with the colorant. Consult manufacturer guidance.
- Applying a Thin Protective Layer: Use a small paintbrush to wipe a thin uniform layer of sealer into stained grout, taking care not to overfill grout lines and pool excess sealer.
- Allowing Proper Dry: Time Give sealer applications proper time to dry fully before exposing grout to water or moisture. This enables maximum protection.
With a quality compatible sealant, vibrant stained grout maintains its renewed look and color for years of daily use.
Conclusion
In this blog post we reviewed best practices for how to stain grout. Rather than demolishing tile surfaces through intensive regrouting jobs to refresh worn grout, homeowners now have an easier makeover option through grout staining. After proper grout cleaning and drying, carefully applying quality grout stains rejuvenates dingy lines with dramatic color. Sealing the stains protects the transformative results for lasting appeal. Follow this simple staining process to affordably give outdated tiles a whole new look by revitalizing the grout. With the spectrum of colors now available, stained grout can transition from a dated element into the focal point of any room’s decor.