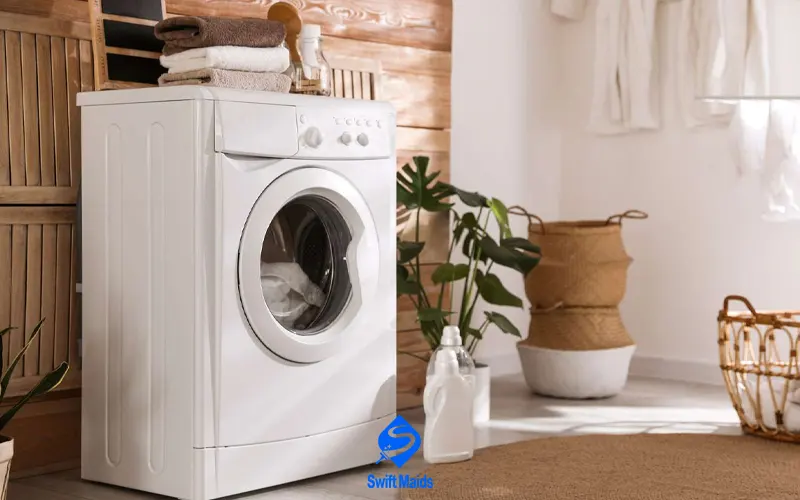
We all love the convenience of tossing our dirty clothes into a machine and expecting them to emerge magically clean. But here’s a little secret: washing machines themselves can get pretty grimy over time.
Ever noticed a funky smell coming from your laundry, even though you know you used detergent and softener? Or maybe your towels just aren’t coming out feeling quite as fluffy as they used to? These could be signs that your washing machine needs a little TLC – a DIY washing machine cleaning, to be precise!
Don’t worry, you don’t need to call in a professional (although, if you’re in the Calgary area and feeling super swamped, Swift Maids offers amazing cleaning services that can include your washing machine!). Believe it or not, with a few common household ingredients and a little elbow grease, you can restore your washing machine’s cleanliness and efficiency.
Read Also: Essential Cleaning Dishwasher Tips | Maintain a Sparkling & Fresh Dishwasher
Why Does My Washing Machine Need Cleaning?
Think about it: your washing machine handles a lot of dirt, grime, and even leftover body soil from your clothes. Over time, this buildup can accumulate in hidden areas of the machine, creating a breeding ground for mold, mildew, and bacteria.
Not only can this lead to unpleasant odors in your laundry, but it can also:
- Reduce the cleaning effectiveness of your detergent
- Clog hoses and filters
- Shorten the lifespan of your washing machine
You may need: Home Cleaning Calgary
The Benefits of a Clean Washing Machine
By performing a DIY washing machine cleaning regularly, you can reap several benefits:
- Fresher-smelling laundry: No more funky odours clinging to your clothes!
- Improved cleaning performance: Your detergent will work more effectively with a clean machine.
- Reduced risk of mold and mildew growth: A clean machine means a less hospitable environment for these unwelcome guests.
- Extended washing machine lifespan: Regular cleaning helps prevent breakdowns and keeps your machine running smoothly for longer.
So, how often should you clean your washing machine? It depends on several factors, such as the frequency of use, water hardness, and the types of clothes you wash. A good rule of thumb is to perform a DIY washing machine cleaning every 1-2 months, or more often if you notice any of the signs mentioned earlier.
Now that you know the why and the what, let’s dive into the exciting world of DIY washing machine cleaning solutions!
The Classic Vinegar Cleanse
Vinegar is a natural disinfectant and deodorizer, making it an excellent choice for cleaning your washing machine.
For Front-Load Washers
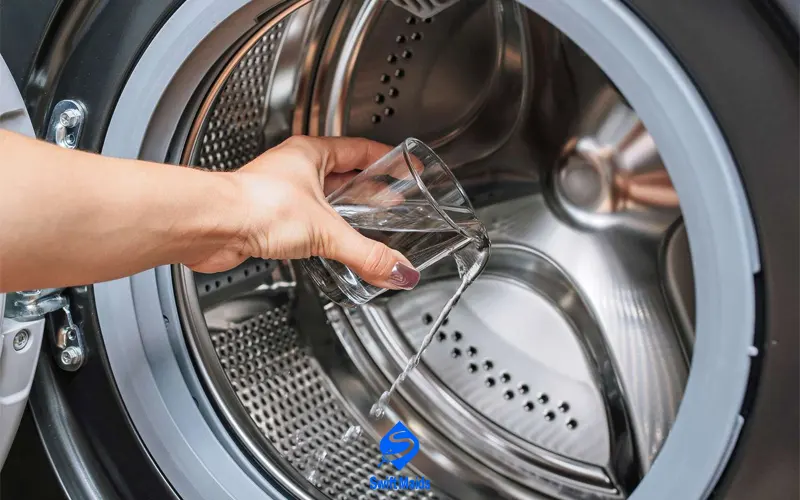
For front-load washing machines, add 2 cups of white vinegar directly to the drum. Run the machine on the hottest water setting with no detergent. The hot water will help to activate the cleaning power of the vinegar and ensure thorough cleaning. This cycle will help to remove any soap residue, mildew, and musty odors from the drum and door seal.
For Top-Load Washers
For top-load washing machines, add 4 cups of white vinegar to the drum. Run the machine on the highest water level and the hottest water setting. This will ensure that the vinegar solution reaches all areas of the washing machine, including the sides of the drum and the agitator.
After the cycle is complete, wipe down the inside of the drum and the door seal with a clean cloth. This will remove any remaining vinegar residue and help to dry the machine thoroughly.
The Baking Soda Boost
After the vinegar wash, you can further enhance the cleaning by adding a boost of baking soda. Baking soda is a powerful cleaning agent that can help remove odors and eliminate any remaining residue.
Add 1 cup of baking soda to the drum. Run another short cycle with hot water. This will help neutralize any lingering vinegar smell, leaving your washing machine sparkling clean and ready for its next laundry duty.
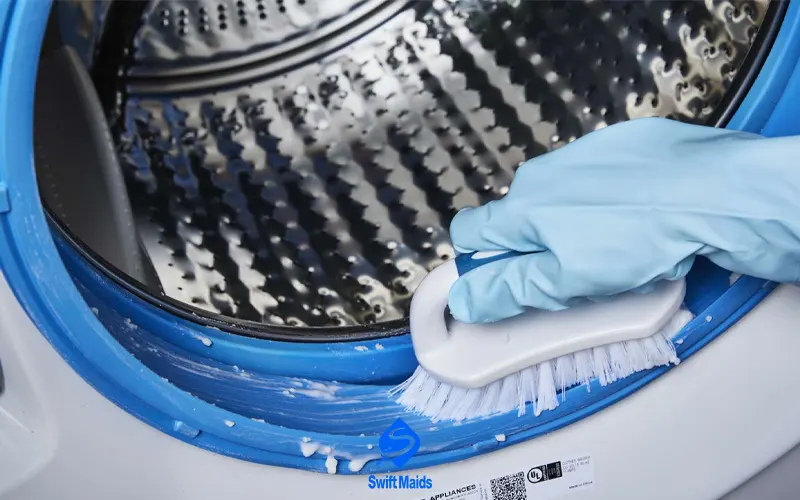
Don’t Forget the Dispenser Drawer
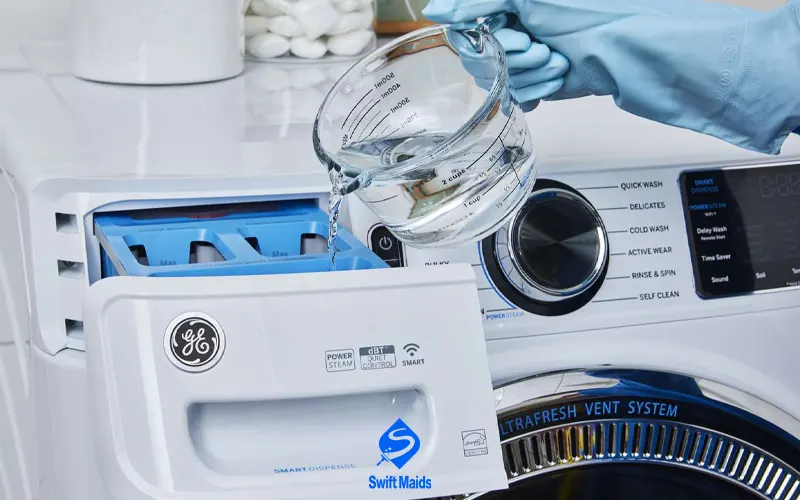
The detergent dispenser drawer is often overlooked during washing machine cleaning, but it can accumulate detergent residue, mold, and mildew over time. This buildup can lead to unpleasant odors and even affect the performance of your detergent. To clean the dispenser drawer, remove it from the washing machine and soak it in a solution of warm water and vinegar for 30 minutes.
This will help to loosen and dissolve any accumulated residue. After soaking, use an old toothbrush to gently scrub away any stubborn residue from the corners and crevices of the drawer. Pay close attention to areas where detergent residue tends to build up. Rinse the drawer thoroughly with clean water to remove all traces of the cleaning solution and vinegar. Allow the drawer to air dry completely before replacing it in the washing machine.
Maintaining a Clean Washing Machine
- Wipe down the exterior of the machine: Regularly wipe down the exterior of your washing machine with a damp cloth to remove dust and fingerprints.
- Leave the door slightly ajar: After each wash cycle, leave the washing machine door slightly ajar to allow air to circulate and prevent the growth of mold and mildew.
- Clean the lint trap after each load: This will prevent lint buildup and ensure optimal machine performance.
Conclusion
By incorporating these simple yet effective DIY washing machine cleaning methods into your laundry routine, you can ensure your washing machine remains clean, efficient, and odor-free. A clean washing machine not only ensures that your clothes come out sparkling clean but also helps to prolong the lifespan of your appliance.
Remember to perform these cleaning cycles regularly – at least once a month – to maintain optimal washing machine performance. By taking proactive steps to care for your washing machine, you can enjoy fresh, clean laundry and a more efficient laundry routine for years to come.